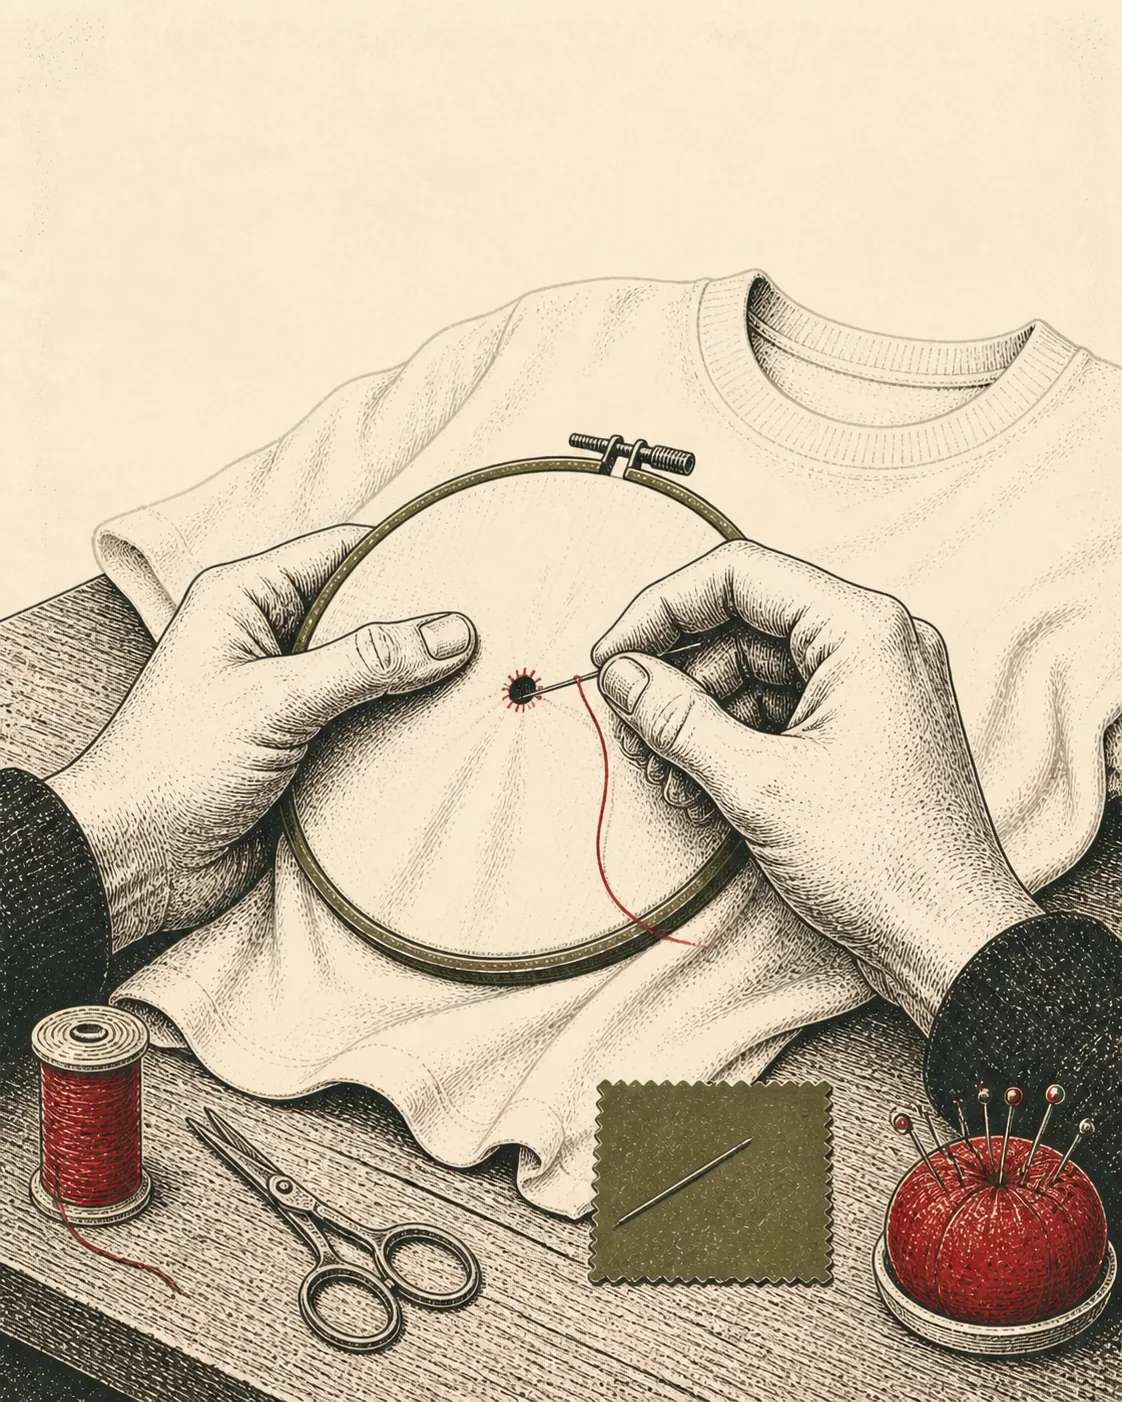
Three ways to close a small hole in a t-shirt: darn it so the weave grows back, patch it with cloth from a shirt that is already gone, or mend it on purpose, in a thread that does not try to hide. All three work. Which one you reach for depends on the hole, and on whether you want the shirt to look repaired or look untouched.
Start with the hole itself. If it is a clean puncture or a worn-through spot smaller than a fingernail, darn it. If it is bigger, ragged, or near a seam where a patch has something to grab, patch it. If you have already decided the shirt is going to keep living in rotation for years, mend it visibly and stop pretending otherwise.
The darn: rebuilding the weave by hand
A darn does not cover the hole. It replaces the missing threads with new ones, woven in the same over-under structure as the fabric around it, so the repair becomes part of the cloth rather than a patch sitting on top of it.
- Turn the shirt inside out and stretch the hole gently over a darning egg, a light bulb, or a smooth rock if you have neither. Anything with a curved, unyielding surface behind the fabric keeps your stitches even.
- Thread a needle with cotton embroidery floss or fine crochet cotton in a close color match, or a deliberately different one if you are leaning toward the visible option below.
- Lay a foundation of straight stitches across the hole, running about a quarter inch past its edge into sound fabric on both sides, spaced a couple of threads apart. These stitches carry the weight; anchor them well.
- Weave a second set of stitches at ninety degrees to the first, going over one foundation thread and under the next, alternating each row, the way a hand loom works.
- Keep the tension slack enough that the patch stretches with the rest of the jersey. A darn pulled drum-tight on a knit will pucker the first time it is washed and pull the hole open again at the edge.
- Knot off on the inside, trim, and turn the shirt right side out.
Cotton jersey is more forgiving of an imperfect darn than a tightly woven shirt fabric would be; the stretch in the knit hides small inconsistencies in tension that would show on a wristband or a collar.
The patch: faster, and it uses the dead shirt in your drawer
Every closet has a shirt too far gone to wear again but too good a piece of fabric to throw out. That is your patch source. Cut a piece at least an inch larger than the hole on every side, in a weight close to the shirt you are fixing; a lightweight patch on a heavyweight tee will show through and wear differently.
Trim the hole itself into a clean shape rather than leaving frayed threads, then apply a piece of fusible interfacing to the back of the patch and iron it in place behind the hole from the inside of the shirt, following the interfacing’s heat setting so you do not scorch the print if there is one nearby. Fusible bonding alone will survive a few gentle washes; for anything that goes through a machine wash regularly, stitch around the patch’s edge afterward with a straight or zigzag stitch, by hand or machine, so the bond has mechanical backup once the adhesive eventually gives up.
A patch is the right call for anything past a half inch across, for holes near a seam where a darn has nothing to anchor into, and for anyone who wants a repair finished in one sitting rather than one built stitch by stitch.
Visible mending: the repair as a decision, not an apology
Visible mending means stitching the repair in a thread that contrasts on purpose, so the fix reads as a choice rather than a failure to hide one. The best-documented ancestor of the idea is Japanese sashiko, a running-stitch technique that developed during the Edo period (1603 to 1867) to reinforce worn spots on homespun cloth and to hold patches onto garments that had to last. By the Meiji era it had become established winter handwork in northern farming communities, done indoors once outdoor labor stopped for the cold, and it was used on a larger scale to reinforce firefighters’ padded coats, which needed to survive being soaked and worked hard. The white cotton thread against indigo cloth that people now recognize as the sashiko look came from what was cheap and available, not from an aesthetic brief: white cotton thread and indigo-dyed cloth were the inexpensive materials on hand.
A related and often confused practice, boro, describes the patchwork textiles themselves rather than the stitch: pieces of cotton, linen, or hemp mended and re-mended across generations by farming families who found it cheaper to keep repairing what they had than to weave new cloth. Sashiko stitching often held boro patches together, but the two terms describe different things, one a technique and one a class of garment.
None of this was decorative in its own time. It became a look later, once a repair method built for necessity got noticed for how it happened to appear. To try it on a t-shirt: use embroidery floss in a contrasting color, and instead of matching your stitches to the hole’s shape, run parallel straight stitches or a simple grid across and beyond it, the way sashiko crosses a worn patch rather than tracing its outline. The stitching becomes the point, not the camouflage.
Where the holes actually come from
The most repeated explanation for a small hole that shows up in almost the same spot on every t-shirt you own, low on the front, just above the waistband, is that a seat belt buckle or a kitchen counter edge rubs it there through years of getting in and out of a car or leaning against a counter to cook. Both explanations circulate constantly in style forums and lifestyle articles. Neither one is backed by a study, a textile engineer, or anyone measuring anything; they are folk theories that spread because they are specific enough to sound tested. Weighed honestly, they should be read as plausible stories, not settled fact.
The moth explanation is easier to rule out. Clothes moth larvae feed on keratin, the protein in wool and silk, and that is what they are built to digest. They will chew through cotton when it is blended into a wool garment, and they will use scraps of cotton to help spin their cocoons, but a hole in an all-cotton tee sitting in a drawer with no wool nearby is very unlikely to be moth damage, whatever the internet forum thread says.
What is not in dispute is that cotton fibers weaken with repeated flexing and rubbing at a single point, and that washing thins fabric further with every cycle as fibers abrade against the rest of the load and against the machine drum. A shirt worn and washed on the same schedule wears fastest wherever it gets the most friction against the same surface, over and over, which for most people is somewhere around the waist. That is a plainer, less quotable answer than a seat belt buckle, and it is the one the evidence actually supports: repetition at a point, not a single culprit object.
Keeping the next hole from starting in the same place
A shirt that fails once in the same spot will usually fail there again unless something about the routine changes. Wash it less roughly: turn it inside out so the outer face rubs against itself less than against zippers and buttons in the rest of the load, and skip the top of a full-heat dryer cycle, since heat makes cotton fibers more brittle and more prone to breaking under the exact friction that started the first hole. If a belt buckle or a counter edge really is the culprit in your case, and you will know your own habits better than a forum thread does, the fix is an inch more slack, or standing a little farther back, not a change to the shirt.
We cut our tees at 6.1 ounces, heavier than the fast-fashion weight most of these forum threads are describing, because a denser cotton jersey resists exactly this kind of point wear longer before it gives.