
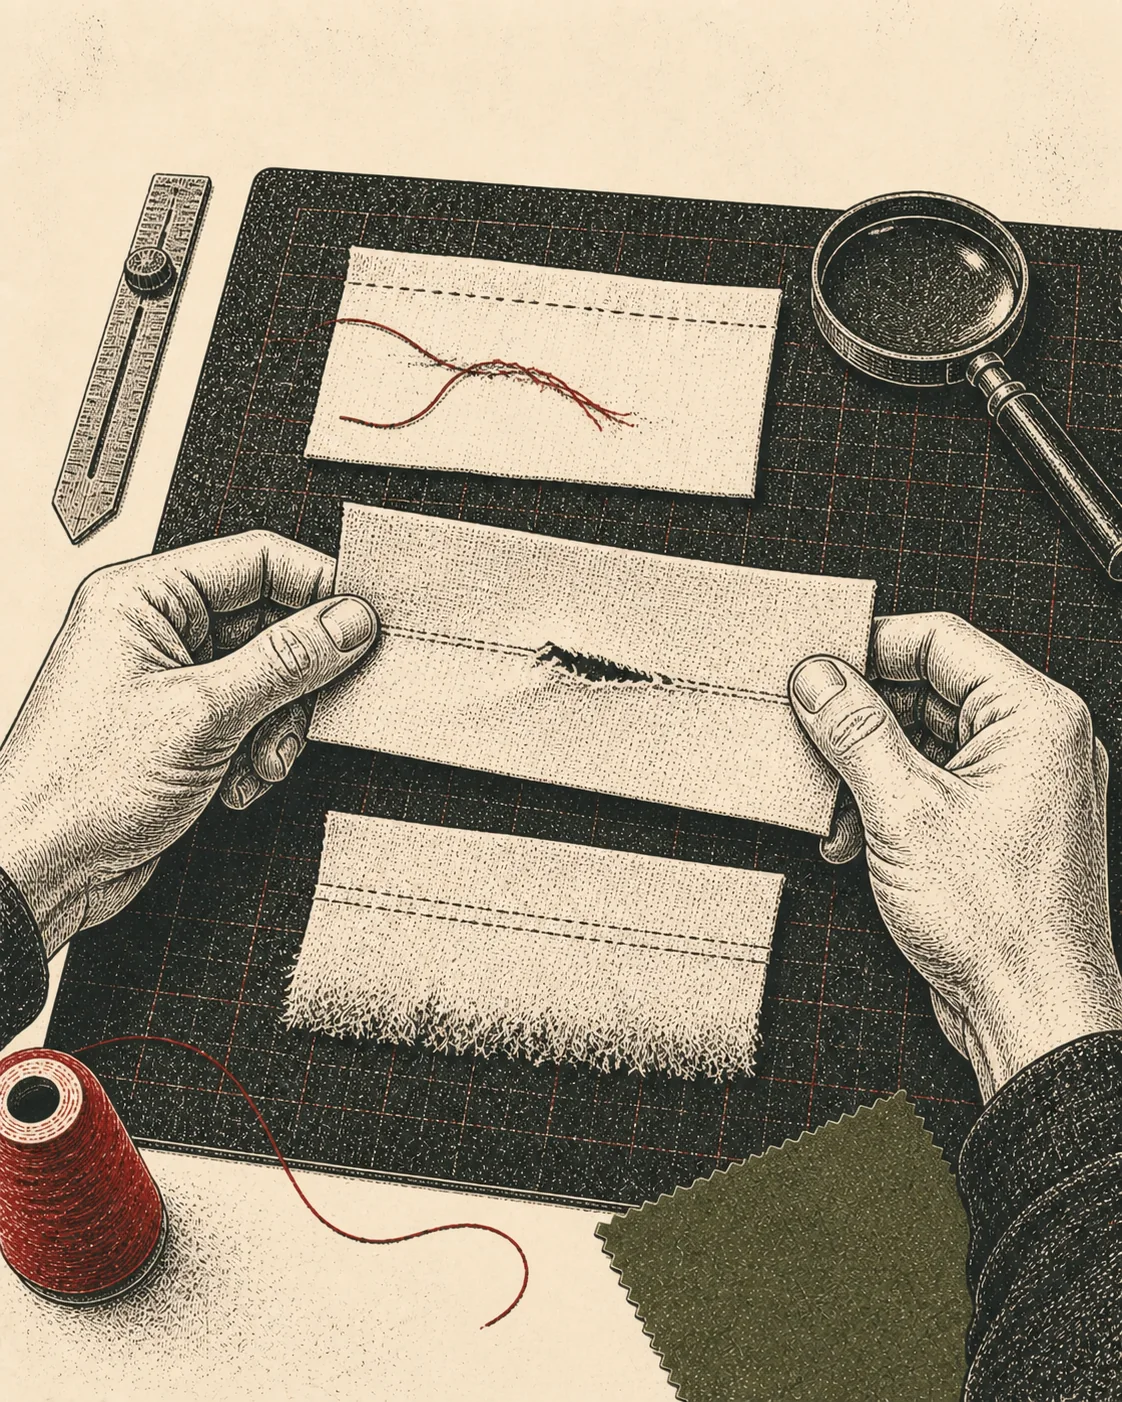
Pull the two sides of a split seam apart and look at the edge. Sometimes it is a row of neat little snapped threads, still curled where the needle left them. Sometimes the fabric itself has torn a clean line right where the stitches sit, thread intact, cloth gone. And sometimes nothing looks broken at all: the thread is still there, unbroken, but the woven yarns of the fabric have slid out from under it, leaving a gap next to a seam that never actually failed. Three different wrecks, three different causes, and only one of them has anything to do with the thread.
Three ways a seam gives out
The first failure is the thread breaking. Every stitch loads a length of thread with the pull of the fabric on either side of it, and thread has a breaking strength like any other fiber. Enough force, enough cycles of stress, or a nick from a dull needle weakens one stitch below its working load, and it snaps. Depending on the stitch type, that single break can either stay local or run the whole seam open, which is where the choice of stitch class matters more than most people assume.
The second failure is the fabric tearing at the line of stitches. This is a fabric problem more than a thread one: the needle punches a row of holes through the cloth, and if the fabric around those holes is weaker than the seam pulling against it, the tear runs along that perforated line rather than through solid material. A seam sewn too close to a cut edge, or through a fabric with low tear strength to begin with, fails this way even with perfectly intact thread.
The third failure is the one people miss because nothing visibly breaks: seam slippage. The woven yarns of the fabric shift along the row of stitch holes under repeated stress, working themselves loose from the weave near the seam line until a gap opens beside stitches that are still doing exactly what they were sewn to do. It shows up most on loosely woven or slippery fabrics, and on seams cut with too narrow an allowance for the yarns to have anywhere to go but toward the edge.
Textile testing treats these as related but separate measurements. ASTM D1683/D1683M, the standard test method for failure in sewn seams of woven fabrics, covers both: a sample is pulled on a tensile tester until the seam breaks, which measures strength, and separately, the load-elongation curve of the fabric with a seam is compared to the same fabric without one, which measures how much force it takes before the yarns visibly slip a set distance. A garment can pass one of those tests and fail the other, because they are measuring different failures.
What the stitch is actually doing
Every stitch that holds a seam together belongs to a numbered class under ISO 4915, the international standard that classifies stitch types by how the thread loops and interlaces rather than by what the seam is used for. There are six classes, and the first digit of any three-digit stitch number tells you which one: class 100 is chain stitches, formed by a needle thread looping through its own previous loop; class 200 covers stitches that originated as hand sewing, a single thread passing in and out of the cloth; class 300 is the lockstitch, two or more groups of thread interlacing inside the material; class 400 is the multi-thread chain stitch, built from interlooping between two or more thread groups; class 500 is the overedge stitch, wrapped around a raw fabric edge to keep it from fraying; and class 600 is the covering chain stitch, where two groups of thread cover both faces of the fabric while a third group anchors them from inside.
The most common seam on a t-shirt, a 301 lockstitch, is class 300: a needle thread and a bobbin thread interlacing inside the layers of fabric, the same construction a home machine makes. Cut a 301 lockstitch anywhere along its length and the whole line can come apart from that point, because each stitch depends on the one before it holding the interlacing tension. A class 400 chain stitch, more common on the felled seams inside jeans and heavier garments, has more give under stress but the same basic vulnerability: sever it in the wrong place and a chain stitch can run the entire seam open in a single pull, faster than a lockstitch will, which is why chain-stitched hems sometimes unravel from a single loose thread end while lockstitched ones do not.
None of this is decoration on a spec sheet. A garment built with the wrong stitch class for its stress points, an overedge stitch where a lockstitch belonged, or a single line of stitching at a seat seam that needed the redundancy of two, is failing by design before it ever leaves the factory.
The myth about stitches per inch
More stitches per inch is generally assumed to make a stronger seam, and up to a point it does: each stitch is a length of thread carrying part of the load, and more of them share that load across more anchor points. That is the logic behind most sewing specifications giving a minimum stitch count for a given seam.
What most people miss is that the same specifications almost always give a range, not just a floor. The reasoning behind the ceiling is straightforward mechanically, even if it is harder to pin to a single measured demonstration: a needle passing through fabric does not just add a stitch, it punches a hole, and enough holes packed close together along the same line perforate the cloth the way a row of holes weakens a sheet of paper along a fold. Textile researchers measure this directly with a needle cutting index, the percentage of a fabric’s yarns actually severed by the needle passing through it rather than pushed aside, under the ASTM D1908 test method. That index rises with denser fabric weave, thicker sewing thread, and other variables that increase how much the needle has to fight the yarns on its way through, which is the same mechanical channel by which packing stitches too close together would work against a seam rather than for it.
A 2012 study published in TEM Journal tested lockstitched seams at densities of 3, 4 and 5 stitches per centimeter, roughly 8 to 13 stitches per inch, and found seam breaking force still climbing at the top of that range rather than falling. The same paper noted that the near-linear relationship it measured held only across the interval it tested, and offered no claim about what happens with denser stitching beyond it. That leaves the trade-off in an honest middle position: the mechanism, needle penetrations damaging the yarns they pass through, is real and directly measured by a standard test method built for exactly that purpose. A published study demonstrating the specific point at which more stitches per inch actually costs a seam more strength than it gains was not something this piece could locate and verify firsthand, and the claim is better read as sound engineering logic behind an industry-standard range than as a settled experimental result.
Reading a failed seam
None of the three failure modes require a lab to diagnose after the fact. Snapped thread ends, still curled at the break, mean the thread gave out, often from a stitch density too low for the stress or a thread weight mismatched to the fabric. A torn line of fabric running exactly along the stitch holes, with the thread intact on both sides, means the cloth was weaker than the seam asked it to be. A visible gap next to stitches that have not broken at all means the yarns slid, which usually traces back to a seam allowance cut too narrow or a fabric too loosely woven for how the garment gets used.
A shirt does not fail at the seam because the seam is inherently the weak point of a garment. It fails there because that is where three different, measurable things, a length of thread, a line of punctured fabric, and a row of yarns under sustained pull, all have to hold at once, and a spec sheet either accounts for all three or it does not.